When a water emergency hits your home, the clock starts ticking immediately. Water spreads rapidly, saturating carpet pads, swelling drywall, warping hardwood, and creating a prime breeding ground for mold. What you do in the first 24 hours determines the extent of the structural damage and significantly impacts the outcome of your insurance claim.
Here is an hour-by-hour checklist to guide you through a water disaster.
Hour 1: Locate, Contain, and Secure
The primary goal of the first hour is safety and containment.
- Step 1: Shut Off the Main Water Line: If the source is a burst pipe, water heater, or fixture, turn off the main water valve immediately. Ensure everyone in your household knows where this valve is located.
- Step 2: Cut the Power: If water has reached outlets or electrical wiring, shut off the electricity at the main breaker panel. Never walk through standing water to reach the breaker panel. If you cannot reach the panel safely, call an electrician immediately.
- Step 3: Wear Protective Gear: Floodwater or sewage backups contain dangerous pathogens. Wear rubber boots, gloves, and protective eyewear before entering the area.
Hours 2-4: Call the Restoration Team First
A common mistake homeowners make is calling their insurance provider before calling a restoration service.
[!WARNING] Mitigation is Your Responsibility: Standard insurance policies explicitly state that the property owner is responsible for taking immediate action to prevent further damage (known as “mitigating the loss”). Waiting for an insurance adjuster to visit can take days, during which structural rot and mold will set in.
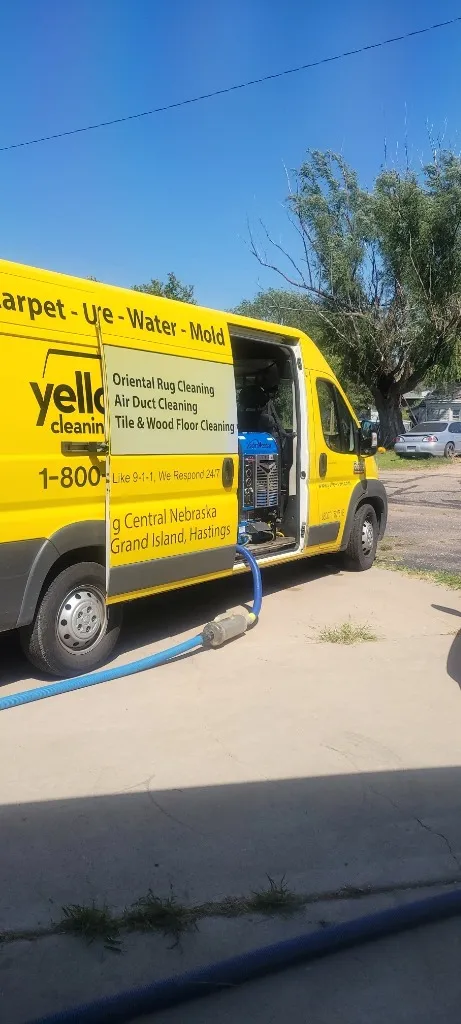
By calling Yellow Van Cleaning & Restoration immediately, our certified crews can dispatch to perform water extraction and structural drying right away. We will document the structural moisture levels and provide the insurance carrier with a professional scope of work, helping protect your claim from denial.
Hours 4-8: Document Everything in Detail
Before water is extracted or items are moved, you must create a detailed, undeniable visual record of the damage. This documentation is your strongest asset when filing an insurance claim.
- Take Video Walkthroughs: Capture a continuous video showing the standing water, the source of the leak, and all affected rooms.
- Photograph standing water levels: Take close-up photos of water lines against walls, floorboards, and furniture legs.
- Log Damaged Personal Property: Do not throw away any damaged belongings. List them with descriptions, age, and estimated value, and take photos of serial numbers on electronics.
- Keep Damaged Materials: If a burst pipe or broken appliance valve caused the leak, keep the broken pipe or parts. Insurance adjusters will want to inspect the failed part to verify the cause.
Hours 8-24: Mitigate and Dry
Once the restoration crew arrives, the heavy drying work begins:
- High-Volume Extraction: Industrial truck-mounted vacuums extract water from carpets and subfloors.
- Structural Evaporation: Air movers are strategically positioned to create optimal airflow across floors and walls, accelerating evaporation.
- Dehumidification: Low-grain refrigerant (LGR) dehumidifiers pull moisture out of the air to prevent secondary damage (like buckling drywall or mold).
Keep a Logging Book
Establish a single folder to collect:
- All work authorizations and contracts.
- Restoration logs showing daily drying progress.
- The name, phone number, and claim number of your insurance adjuster.
- Detailed notes of every phone call, email, or discussion with insurance representatives.
Taking these fast, proactive steps in the first 24 hours saves your home’s structural integrity and keeps your insurance claim clear, simple, and fully documented.