When homeowners discover mold growing on their walls, ceilings, or baseboards, the immediate instinct is often to hide it. A quick trip to the hardware store for a can of Kilz primer and a fresh coat of paint seems like the fastest, cheapest solution.
However, painting over mold is one of the most common and costly mistakes you can make in home maintenance.
While it might make your wall look clean for a few weeks, it does not solve the problem. In fact, it makes it worse. Here is the scientific truth about why paint and primers do not kill mold, why popular DIY methods like bleach fail, and how to safely resolve a mold issue in your home.
The Truth About Kilz and Mold-Resistant Paint
A common misconception is that stain-blocking primers like Kilz or mold-resistant paints are designed to kill existing mold.
They are not.
Standard primers, including original Kilz, are designed to block stains and odors. They are sealer coatings, not fungicides. Even specialty “mold-resistant” or “mildew-resistant” paints are only formulated with antimicrobial properties to prevent new mold spores from settling on the paint’s clean surface.
If you apply these products over an active mold colony, here is what happens:
- You Trap the Moisture: Mold requires moisture, oxygen, and a food source (like drywall paper or wood). Paint seals the surface, trapping moisture behind the paint film.
- The Mold Feeds on the Drywall: The mold continues to grow underneath the new layer of paint, eating the paper backing of your drywall and rotting the wooden wall studs.
- The Paint Peels and Bubbles: As the mold grows and moisture remains trapped, the paint layer will eventually lose adhesion. Within a few weeks or months, you will see bubbling, cracking, and peeling paint, with live black mold pushing through.
[!WARNING] Masking Mold Can Void Insurance and Increase Costs: Painting over mold does not stop structural decay. If mold is left to grow undetected behind a painted wall, it can destroy the structural integrity of your wall studs. When you eventually have to remediate it, the scope of work (and the cost) will be significantly larger than if it had been treated correctly from the start.
The Bleach Myth: Why Spraying Bleach Fails on Drywall
Another common DIY tactic is spraying mold with household bleach before painting over it. While bleach is highly effective at killing mold on non-porous surfaces (like ceramic tile, glass, or vinyl), it is ineffective on porous materials like drywall, concrete, and wood.
Here is the chemistry behind why bleach fails on porous surfaces:
- Chlorine Stays on the Surface: The active ingredient in bleach—chlorine—cannot penetrate porous materials. It remains on the surface.
- Water Penetrates Deeply: Bleach is mostly water. While the chlorine sits on top, the water penetrates deep into the drywall or wood.
- The Root System Survives: The deep root system of the mold (called hyphae) survives. The water from the bleach actually feeds the roots, causing the mold to grow back faster and stronger than before.
When Is it Safe to DIY vs. Call a Professional?
According to the Environmental Protection Agency (EPA), homeowners can generally handle mold remediation themselves if the affected area is less than 10 square feet (roughly a 3-foot by 3-foot patch) and is limited to a non-porous surface.
Safe DIY Guidelines (Under 10 Sq. Ft.)
If you are cleaning a small patch of mildew in your bathroom shower or on a tiled surface:
- Avoid Bleach: Use a mixture of household vinegar (which penetrates porous surfaces and kills mold at the root) and water, or a specialized EPA-registered fungicide.
- Scrub Thoroughly: Use a stiff brush to scrub the mold off.
- Dry Completely: Use fans and dehumidifiers to ensure the area is 100% dry.
- Apply Primer After Cleanup: Once the area is completely clean and dry, you can apply a mold-preventative primer like Kilz Restoration or Kilz Mold & Mildew, followed by latex paint.
When to Call an IICRC-Certified Professional
You must hire a professional mold remediation company if you encounter any of the following:
- Large Areas: The mold covers an area larger than 10 square feet.
- Mold Inside Walls: You suspect mold is growing inside wall cavities (often indicated by a musty odor or soft, discolored drywall after a pipe leak).
- Crawl Space or Attic Mold: White or black mold spreading on crawl space subfloors or attic sheathing, which is usually driven by systemic humidity and ventilation issues.
- Water Damage History: The mold was caused by contaminated water (like a sewage backup or floodwater), which contains dangerous pathogens.
How Professionals Safely Remediate Mold
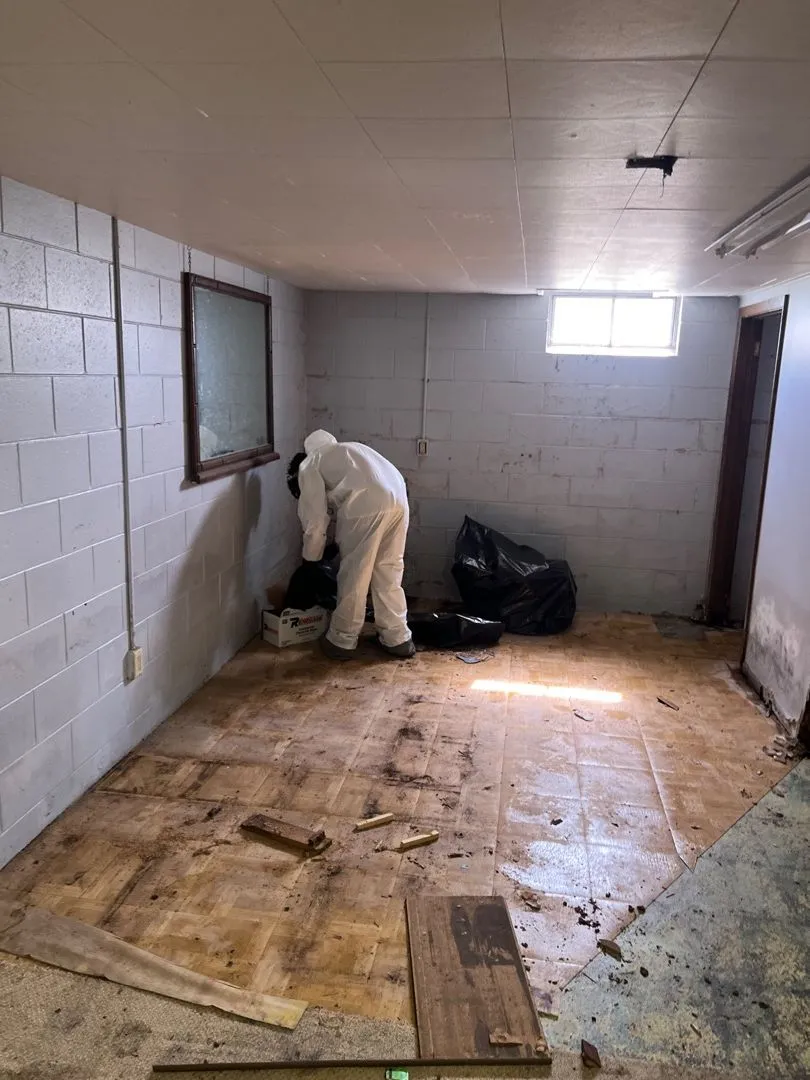
Professional mold remediation is not just about cleaning; it is about containment and safety. At Yellow Van Cleaning & Restoration, our teams follow the strict IICRC S520 Standard for professional mold remediation:
- Source Identification: We use thermal imaging and moisture meters to find and stop the hidden water source driving the mold growth.
- Negative Pressure Containment: We build plastic containment chambers and use HEPA-filtered air scrubbers to create negative pressure. This ensures that when we disturb the mold, spores cannot escape and contaminate the rest of your home.
- Controlled Demolition: We carefully remove contaminated drywall, insulation, and carpet under containment.
- HEPA Vacuuming and Sanitization: All remaining structural framing is HEPA-vacuumed, scrubbed, and treated with professional-grade antimicrobial agents.
- Structural Drying: We dry the structure to standard equilibrium levels to ensure mold cannot return.
If you are dealing with a mold problem in Kearney, Grand Island, Hastings, or the surrounding areas, do not try to paint over it. Call Yellow Van Cleaning & Restoration at (800) 828-3969 or contact us online for a professional mold inspection. Let us help you handle the job safely and correctly the first time.